| Connect the device to a stable power source via the provided USB-A/USB-C 100-240V power adaptor.
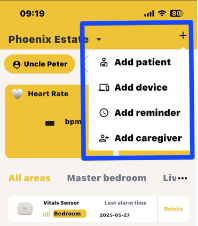
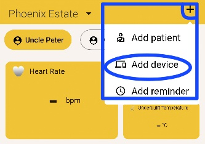
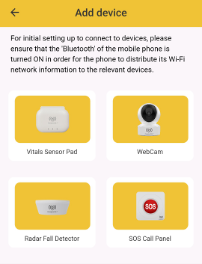
On the app, choose WebCam from the “Add device” screen.
Once powered up the WebCam will self-conduct an initialization.
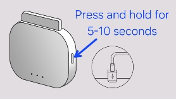
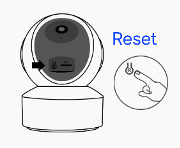
Long-press the reset button (next to the TF/microSD card slot) on the device which can be located by manually rolling up the black cavity where the lens is placed.
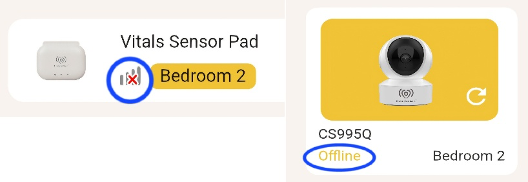
Successful reset is indicated by flashing light or audible sound, i.e. “Please use app to configure Wi-Fi.“
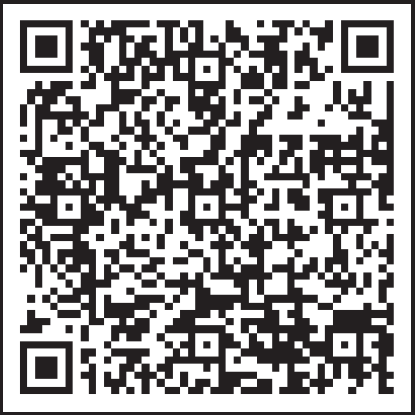
On the app, tap “Next”, and the app will switch to camera scan mode. Hold your phone to scan the QR code located underneath the WebCam.
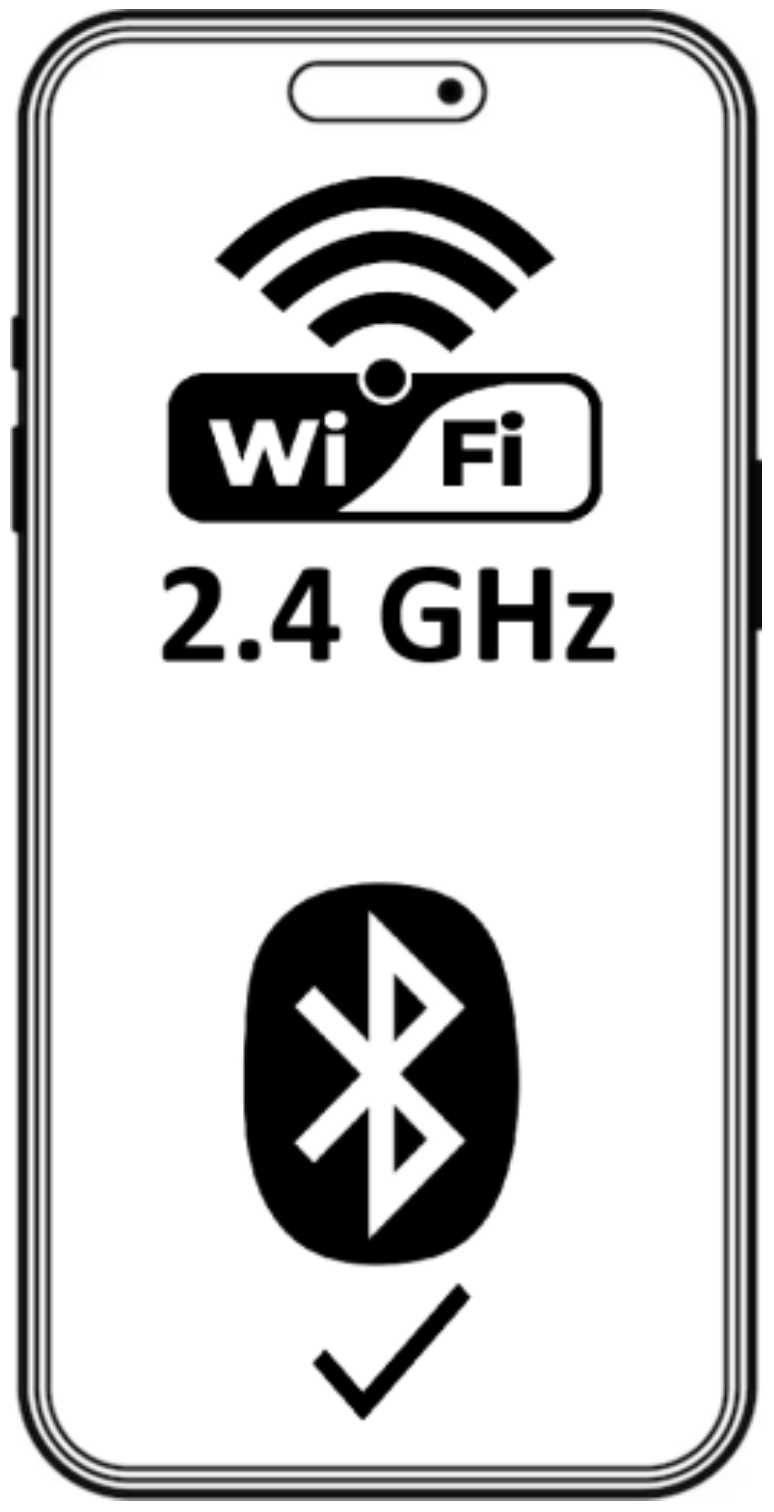
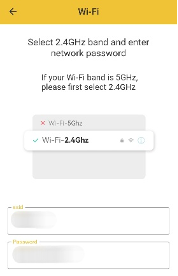
Select 2.4GHz band and enter the router password to connect.
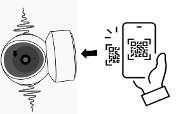
When the device is found, tap “Scan Code”. A QR code will be generated on the app screen.
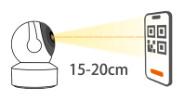
Point and show the generated QR code on the phone screen to the WebCam lens at a range of 15-20 cm.
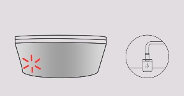
Once a ‘beep’ is audible, tap on “Sound indicator audible” to complete the connection.
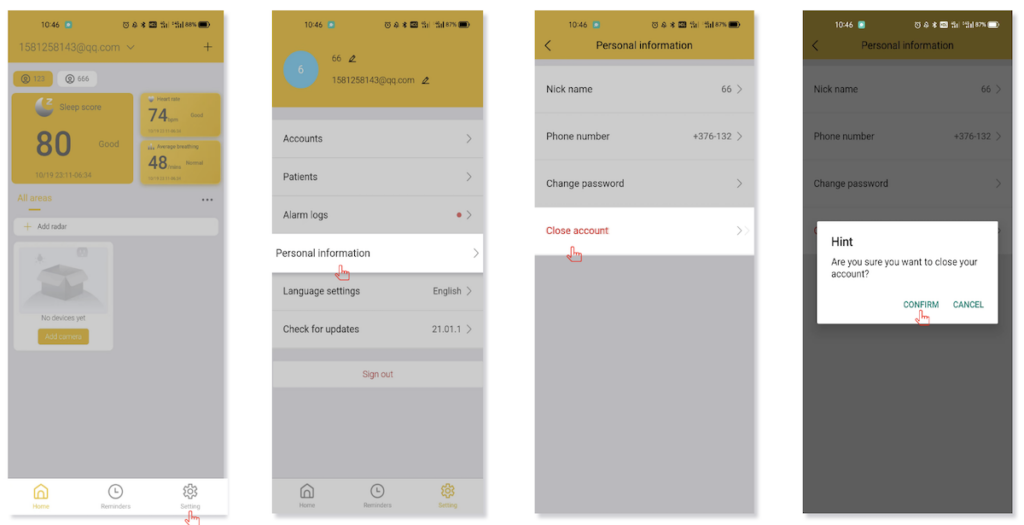
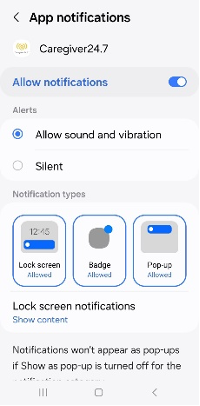
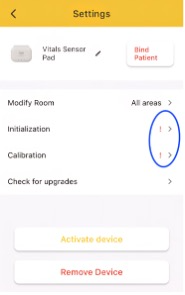
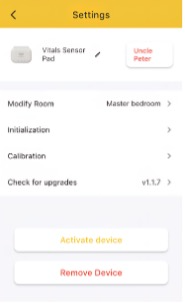
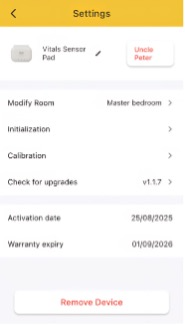
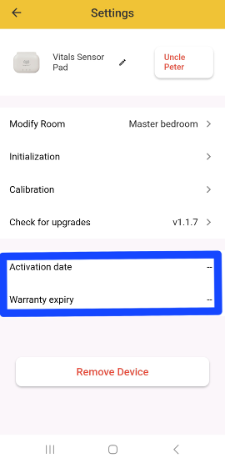
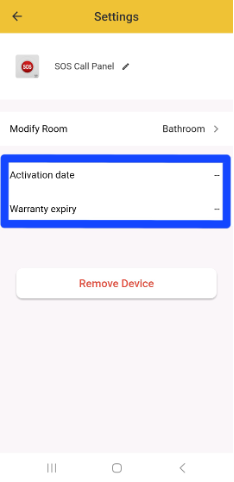
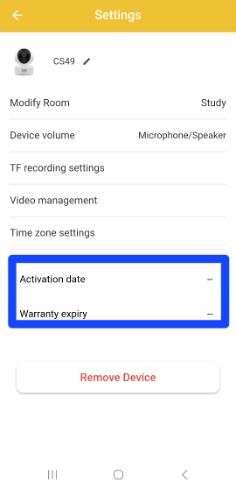
On the homepage, tap on this WebCam. On this device’s page, go to its Settings.
Tap on the icon 🖊 to name the device, e.g. “WebCam” or any name as desired.
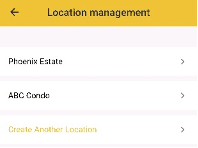
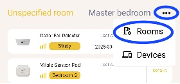
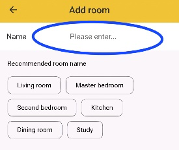
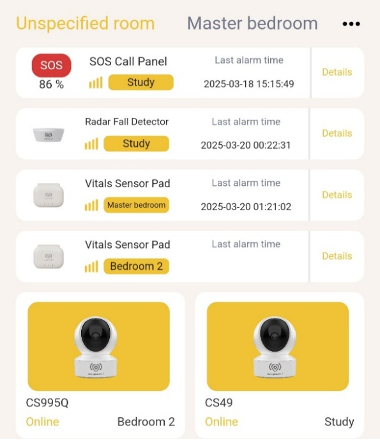
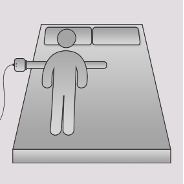
Tap on “Modify Room” to designate an area where this WebCam is deployed, e.g. “Master bedroom”.
Tap “Activate device” if “Activation date” and “Warranty expiry” are not displayed. Devices that are not activated may cease to function, and warranty is void.
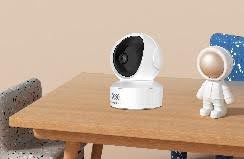
All functions of the WebCam can be remotely controlled, accessible from the selected WebCam page.
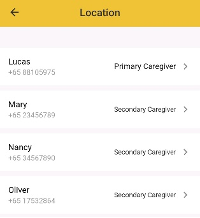
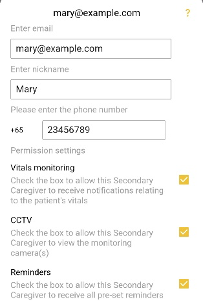
For caregivers, the essential functions are PTZ (Pan, Tilt, Zoom) and Intercom (with the remote speaker turned on for 2-way conversations).
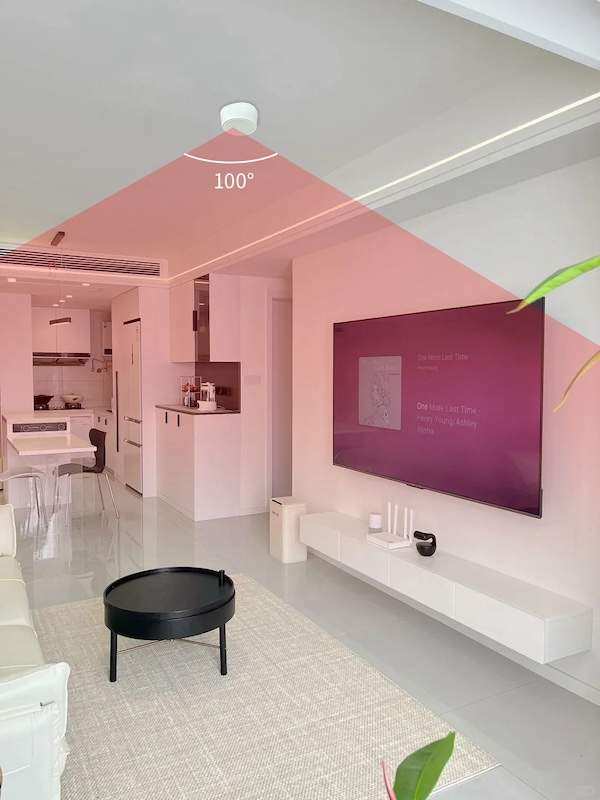
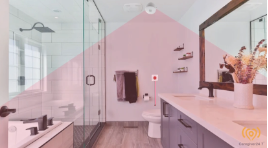
Under the PTZ function, there is the option to preset up to 5 viewing angles of the WebCam.
Note that to use the Playback function, a microSD card (a.k.a. TF card) needs to be installed. The microSD card is not included with the purchase of the WebCam.
|